Armbian Getting Started Guide
Before you start, please make sure you have:
- a proper power supply according to the board manufacturer’s requirements
- a reliable SD card — at least Class 10, A1-rated or better (how to choose one)
You will also need an existing operating system and an SD card writer tool. We recommend using Armbian Imager — the official Armbian flashing tool.
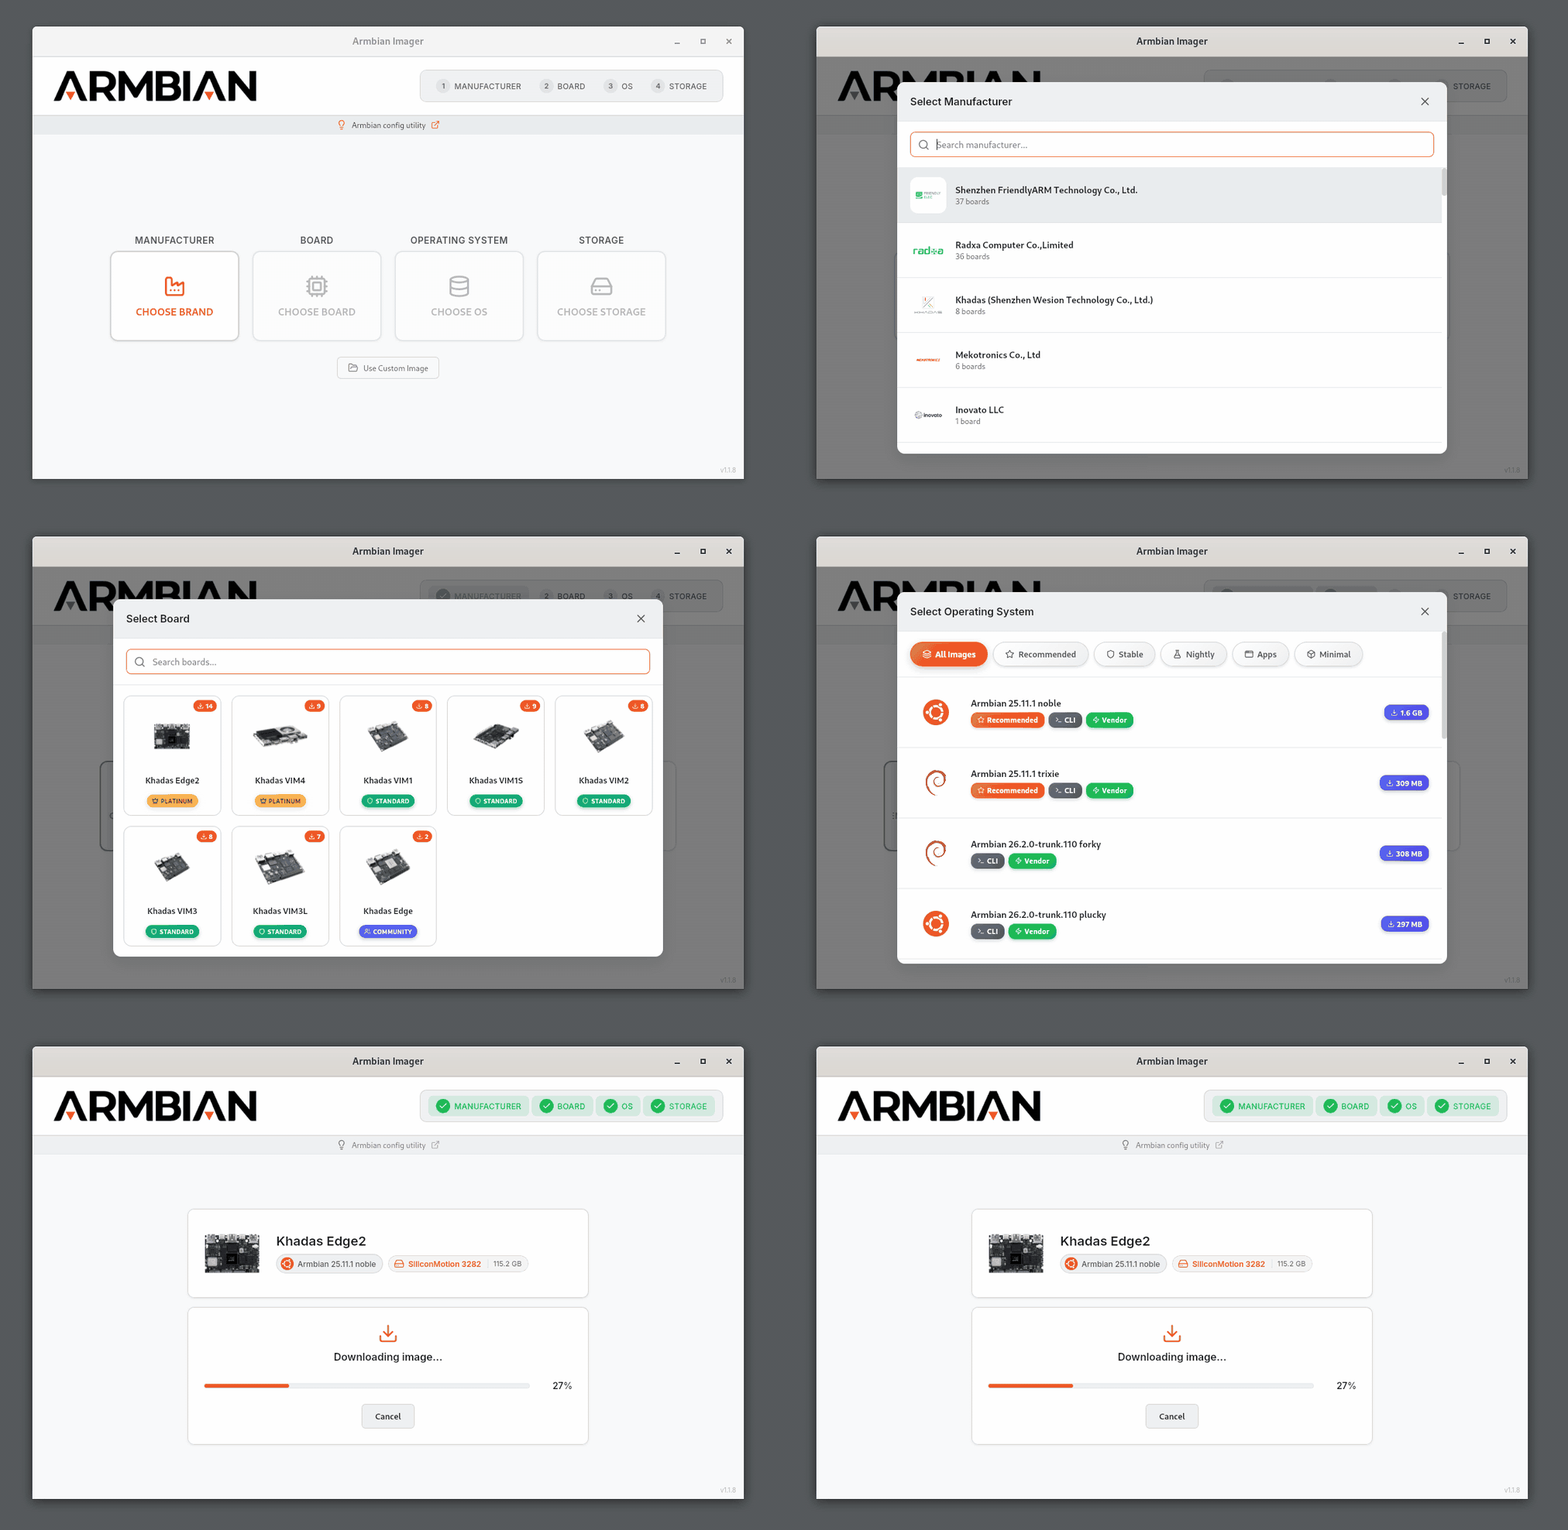
Armbian Imager is a lightweight, native flashing tool that supports both selecting and downloading an Armbian image before flashing, as well as flashing an already downloaded image.
Warning
Most boot and stability problems come from the SD card or the power supply, not the board — in over 95% of cases. Use a good, reliable, fast card and verify it before you rely on it. See Choosing an SD card for what to buy (A1/A2 explained), which brands qualify, how to avoid counterfeits, and how to check a card with F3 or H2testw.
New users
Some users might find it easier to follow this video tutorial.
Some word of advice, though. The video has been created a few years ago. You might therefore find differences between this video and our current site. So, in doubt, also follow the sections below while watching the video.
The steps
This guide is split into stages. Work through them in order, or jump straight to the one you need.
- Choosing an Armbian image — Debian or Ubuntu, minimal, server or desktop, and which kernel branch.
- Writing the image to media — Armbian Imager to an SD card, or straight to eMMC, UFS or SPI.
- First boot and login — Power up, set the root password, create your user, get on the network.
- First steps after login —
armbian-configfor the basics, then preconfigured software titles. - Installing to internal storage —
armbian-installmoves the system off the SD card. - Keeping Armbian up to date —
armbian-upgradefor the OS,armbian-installfor the boot loader. - If something goes wrong — When a step fails, and how to report a real bug.
Start with Choosing an Armbian image.